Polishing is a sure-fire way to enhance your bike with very little investment, just some good old fashioned elbow grease. There are very inexpensive methods that are very time consuming and other methods that involve a bit more investment, which yield great results in minutes. I’ll describe various methods as I go.
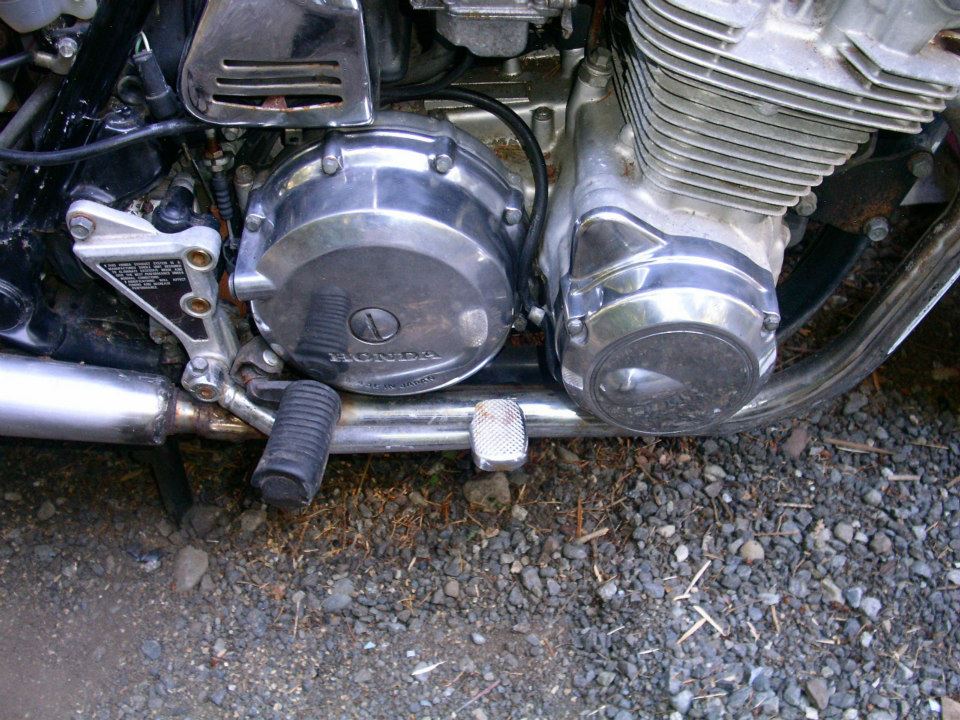
Here’s one of my favorite bikes, a 1980 Honda CB900C, “the before picture” of the motor’s right side.
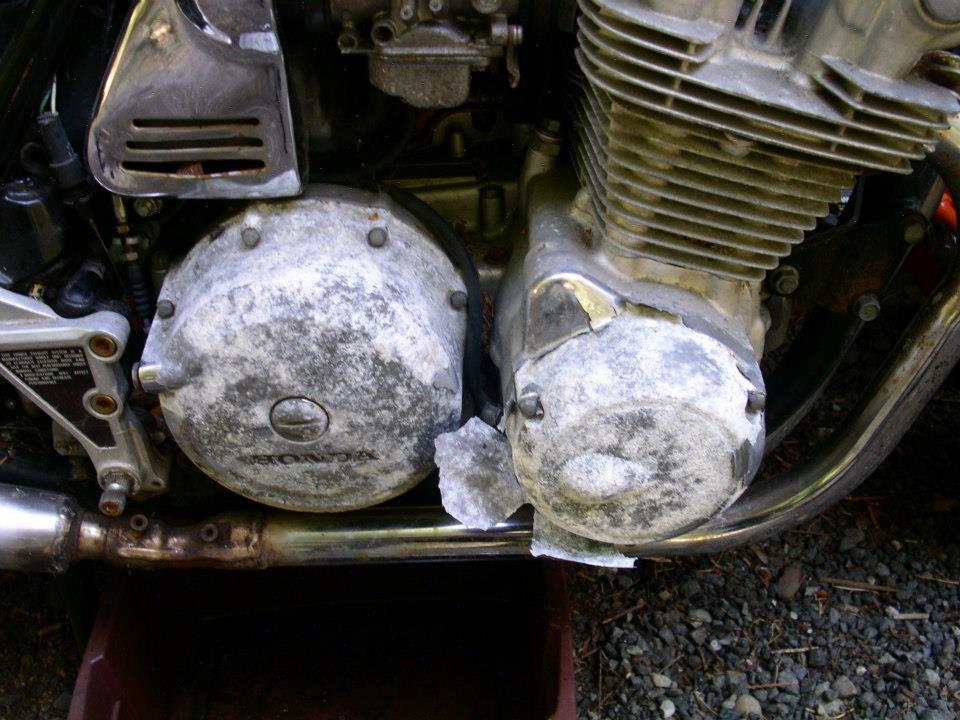
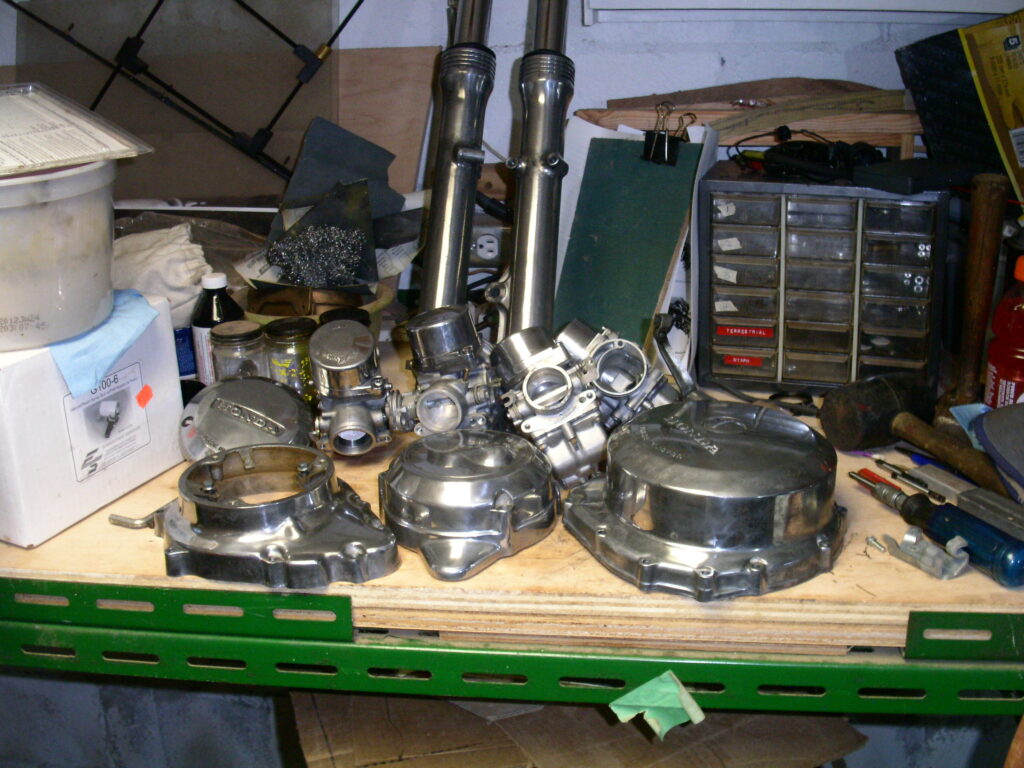
Notice the finish peeling from the stator cover. These gems have previously been chromed. Chroming aluminum is a poor idea except for show. For these parts, it’s too late to do a respectable polishing job without first spending a great deal of time sanding these parts. So I dug in my spares collection for a stator cover and clutch cover, which didn’t look much better than those above, but they had not been chromed. The result it at the bottom of this page. But first, here are the two best polishing methods.
Aluminum Polishing Basics:
Safety note – wear gloves & eye protection when using paint remover. Paint remover on your skin will HURT. Substantial injury will result if you get it in your eyes.
Clean the parts thoroughly to remove any debris, oil, etc. Make note of any scrapes or other blemishes that may need attention. A plastic pot scrubber and a bucket of warm soapy water will suffice most of the time. You may need scrapers, solvent, and a power washer may be required for parts with years of accumulated grime. Get the part as clean as you can prior to the next step.
Apply paint remover, let it sit for at least 20 minutes. Do NOT keep brushing it around. Paint remover forms a barrier to keep air out of the chemistry as it works on the surface of the part. In this case, we want to remove any original factory finish. After the paint remover has had time to work, use a green Scotch Brite pad to scrub away any old finish.
Rinse the part thoroughly under fresh water, then blow dry. Clean up your work area so no paint remover is left where pets or wildlife might accidentally come in contact.
If a part has scrapes or abrasions, you can try to blend them in by sanding with various grades of wet/dry sandpaper.
Some folks do nothing more than sand their aluminum parts with progressively finer grades of wet/dry sandpaper. I’ve tried this and it’s is mind-numbingly labor intensive, but it works. If you get to 1200 grit, you will achieve a very good sheen, not quite a shine. You can go further and get a very nice shine but there are better faster ways to get a real shine.
A simple polishing wheel is the answer. I started out in high school with a simple washing machine motor powered “arbor”, just a Vee belt driven shaft with threaded ends that would allow various wheels, like wire wheels, grinding wheels and even buffing wheels to be attached. I made pocket money polishing parts for friends. I still have that unit some 50 years later – it’s great for small parts.
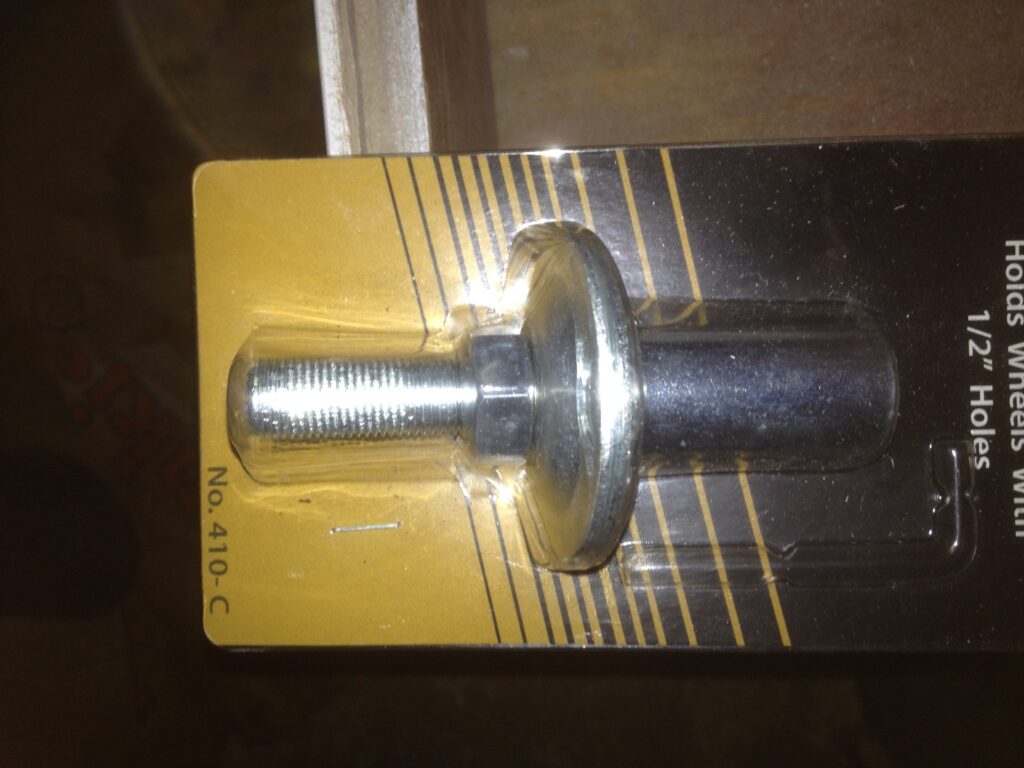
to accommodate buffing and other types of wheels.
A Simple Buffing Setup:
I scrounged up a 2+1/2 HP 3450 RPM 120 volt motor that had been on a compressor. I mounted it on a bench with a very simple adapter for buffing wheels. This has become my main buffer for larger parts but it’s got just enough power to be a bit intimidating for smaller parts. It will polish a clutch cover (basically a bowl shape) in 5 to 10 minutes – far faster than any manual method, and the results are close to show quality.
All you need is a couple of sewn cloth buffing wheels 8 or 10 inches in diameter and brown “Tripoli” polish compound, and protective gear. You must wear eye protection at very least. A simple face shield with cloth cover for your head is very helpful. Bits of cloth and polish compound constantly fly back at you. I wear a homemade cloth hood, face shield and thin leather gloves that protect my hands but leave me with enough dexterity to handle the parts well.
Spin up the wheel and rub the polish compound on the wheel for a few seconds and then begin working on your part, never staying in one place for long. Polishing is best done by systematically working across the entire part, then repeating in a different direction. Usually after three or four passes, your part will be gleaming.
These are the common polishing compounds:
Black “Emery” course – used mainly on rough surfaces
Brown “Tripoli” medium – for very nice “street quality”
Red “Rouge” – produces show quality results after you get a very good Tripoli result.
You can find more detail on compounds with a web search. But there’s one thing to keep in mind – always use a buffing wheel for only one compound. That’s why generally I only use Tripoli.
Alternate Buffing Tools like die grinders and Dremel tools with cotton pads work fine, especially in tight areas but they’re obviously slower than big wheels for large areas. Still if you do some prep first with wet/dry sandpaper, there’s no reason why you couldn’t finish by using buffing wheels on a die grinder with Tripoli and get a very nice result.
Protecting Polished Aluminum can be done either by waxing (effective, easy to do and touch up) or with a coating.
The critical factor for success with coatings, as with all paint finishes, is preparation. The buffing process as described above uses polishing compounds which are essentially fine aggregate and wax. The wax helps to keep the aggregate in some form that can be easily worked with. It also “lubricates” the operation. And of course wax will enhance any polished surface.
However, if you want to apply any paint or powder coating to metal, you need to remove ALL wax and ensure that any solvents used are removed. Otherwise your finish will not stick.
One More Consideration – even if you get a good solid coating, things like fork lowers and engine side cases sustain a fair bit of abrasion in normal use, so prepare yourself for the inevitable chips or scratches, which leads to another issue. If your part is scratched or chipped, water can work under the finish, causing discoloration. To fix this you may have to strip the clear coat, polish, dewax and redo the coating. So for a road rider, you’re probably better off just to periodically wax these parts with something like Mother’s Aluminum polish.
RETURN TO PREVIOUS SITE LEVELS: